Bar Maintenance 101: How To Keep Your Barbell In Tip Top Shape!
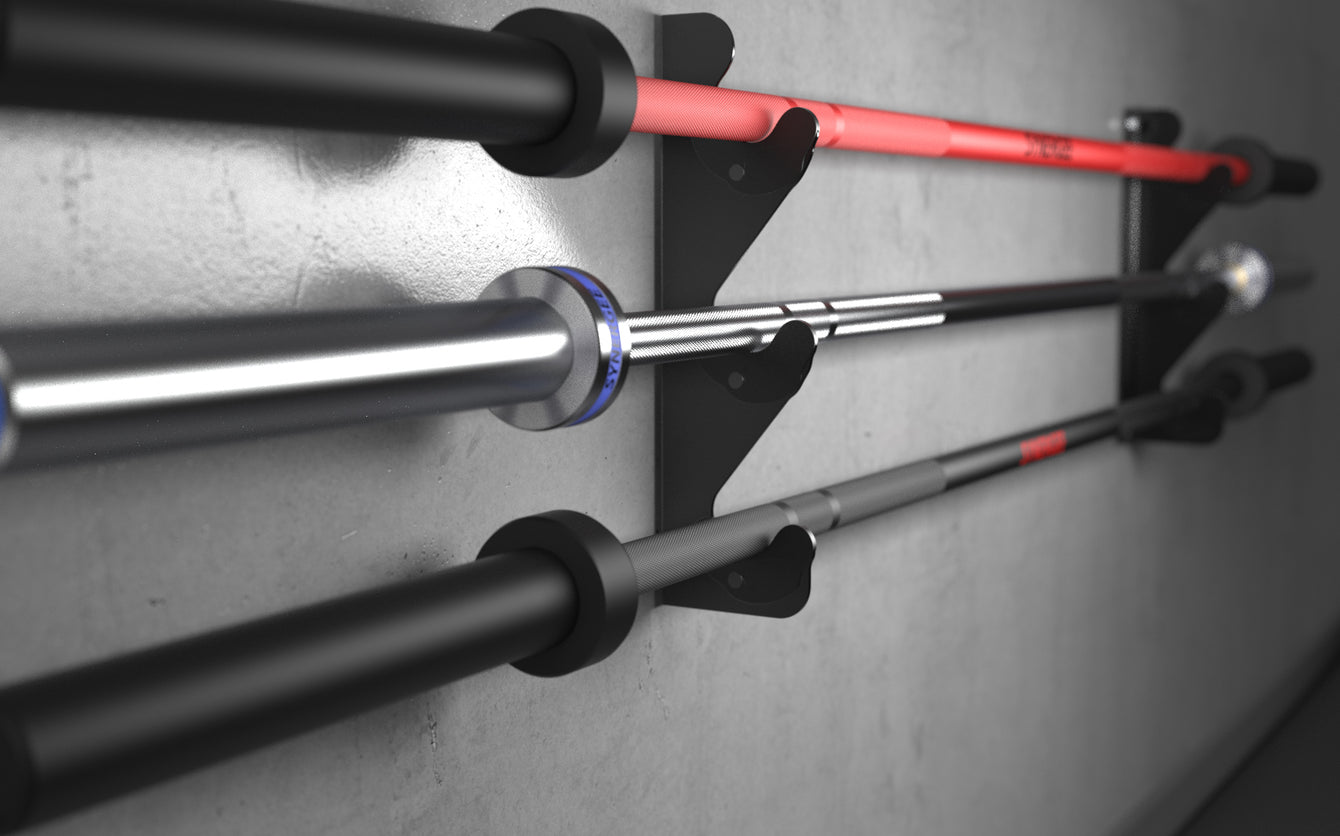
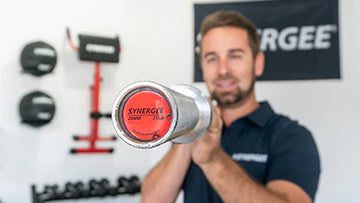
Our Olympic Barbells are meticulously designed to last a long time; but even the best built barbells can get worn down if they aren't cleaned and maintained regularly.
Chalk, sweat, and dead skin (gross) can get caught on the surface and sometimes get in the barbell, which can affect its function and longevity.
You can make your beloved Synergee barbell keep working like new with proper maintenance!
Having a kit on hand for a bi-weekly cleaning (especially if you are using it daily) will help keep your barbell in peak condition.
You'll need the following to clean your barbell:
- 3-in-ONE® Multipurpose Oil
- Nylon Bristle Brush
- Snap Ring Pliers (optional)
And don't forget your PPE! We HIGHLY recommend wearing safety glasses and gloves when cleaning your barbell. Last thing you want is oil in your eyes - or that chalk that was hanging on in the knurling for a week. Gross.
Regular bar maintenance includes cleaning the outside of the bar. The pliers come in when you disassemble for cleaning the interior of your bushing barbell.
Note: Synergee is not responsible lost hardware while disassembling a barbell. And the interior clean is only for bushing – not needle bearing – barbells. And again: we recommend wearing safety glasses and gloves, especially when cleaning the interior.
How to Clean the Exterior of Your Bars:
- Pour a small amount of 3-in-ONE oil onto the shaft of your bar.
- Use the dry nylon short bristle brush to rub the oil into your bar and brush out the extra chalk/dead skin/debris stuck in the knurl.
- Let the oil soak in for a minute.
- Wipe off any excess oil and chalk with a dry towel or rag.
How to Disassemble and Clean the Interior of your BUSHING Barbell Sleeves:
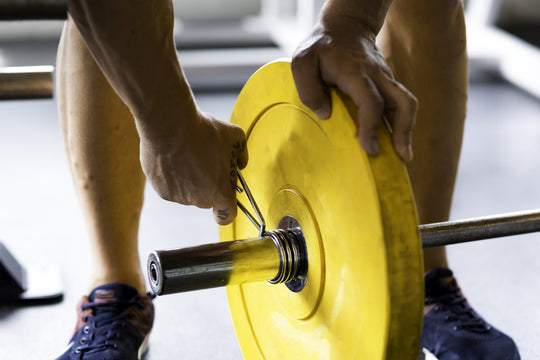
- Grip the outer snap rings by the hole with your pliers. Hold your hand over the end of the barbell in case the snap rings spring free. Pull the outer snap ring off.
- Pull the end cap out. You can shake the sleeve to loosen.
- Use your pliers to pull out the inner snap ring. Again, hold your hand over top.
- Hold your hand underneath the end of the sleeve and push the sleeve back to expose the end of the bar. Pull off the washer, shim, two half moon washers, and the final full washer.
- Remove the sleeve. You make need to turn it to get it to move. Pull it forward off the bar and set it to the side.
- Wipe away old lubricant and any dirt or chalk off the shaft with a clean rag. Do the same to the bushings at each end of the sleeves.
- Pour some the 3-in-ONE oil at each point on the sleeve where bushings contact the shaft. No oil is required between those two spots.
- Replace the sleeve: slide it back onto your barbell, give it a spin to spread around the lubricant. Push it slightly further back so to expose the end of the bar so you can put the washers back in place.
- Place the full washer, 2 half moon washers (fit them into the groove at the end of the shaft, hold them in place, and slide the sleeve forward/over to keep them in place), the shim, and finally the first full washer onto the end of the bar.
- Use your snap ring pliers to gently push against those pieces to ensure they are all back in place.
- Place your inner snap ring (it has a more rectangular shape around the holes than the outer one) back into the sleeve. Grab it with your snap pliers at the holes; squeeze it. Place your hand over the end of the bar as you put it back in place, in case it springs loose. Snap it into place.
- Spin the bar to ensure everything is working properly.
- Place the end cap onto the end of the bar, and then reattach the final snap ring.
Class Dismissed!
Well, that's the end of Bar Maintenance 101! Now go clean your barbell!


